Crispy Chinese Green Beans With Garlic Sauce
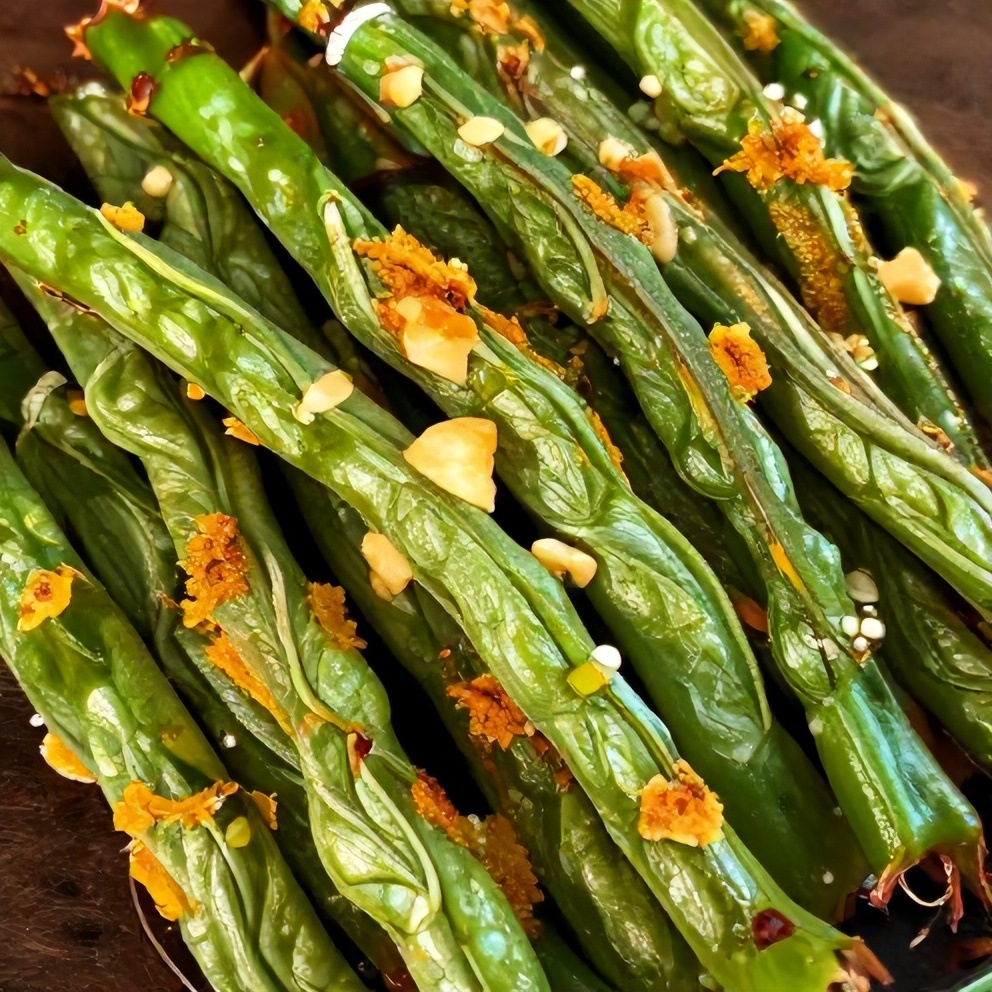
Crispy Chinese Green Beans With Garlic Sauce — my family’s favorite side dish that’s better than takeout and ready in just 20 minutes. After making this many times, I discovered the trick to perfectly crispy beans every time. Jump to the recipe or keep reading for my best tips. If you love recipes like this, you’ll also enjoy Mozzarella Garlic Butter Chicken Bowties and Red, white, and blue poke cake.
Why This Crispy Chinese Green Beans With Garlic Sauce Is Pure Comfort
- Crispy texture that's addictive
- Bold garlic flavor that's not overpowering
- Quick and easy to make
- Perfect side dish for any meal
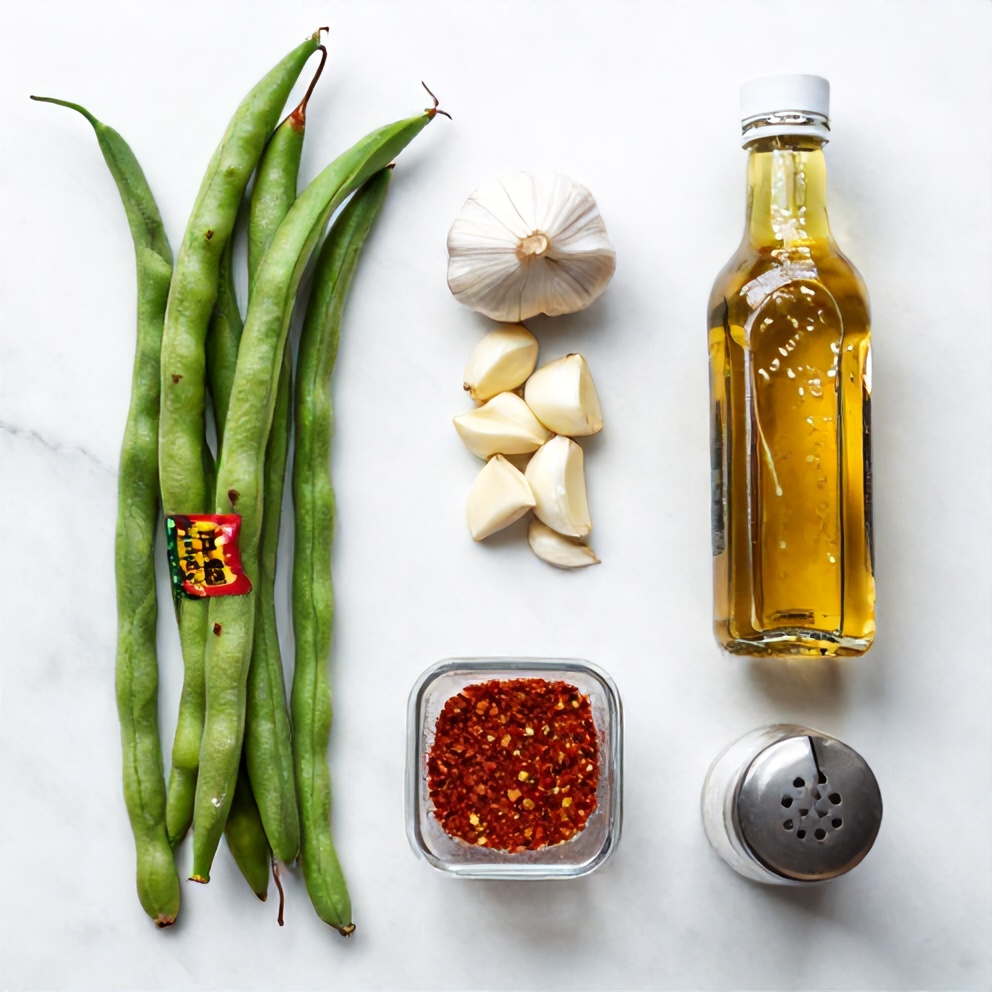
What You'll Need for Crispy Chinese Green Beans With Garlic Sauce
Choosing the right ingredients makes a big difference, but this recipe is forgiving enough to work with what you have.
- Green beans
- Garlic
- Soy sauce
- Sesame oil
- Red pepper flakes
- Soy sauce
- Sesame oil
- Red pepper flakes
- Salt
- Pepper
- Optional: Sesame seeds
- Optional: Chopped green onions
📝 Ingredient Notes
- Green beans: Trimmed to 2-inch pieces
🛒 Tools & Equipment I Recommend
- Stainless Steel Wok — Even heat distribution for perfect searing → See on Amazon
- Garlic Press — Effortless mincing for smooth garlic sauce → See on Amazon
How to Make Crispy Chinese Green Beans With Garlic Sauce
- Step 1: Heat sesame oil in a large skillet or wok over medium-high heat.
- Step 2: Add green beans and cook until crispy and lightly browned, about 5-7 minutes.
- Step 3: Add minced garlic and red pepper flakes, cook for 30 seconds.
- Step 4: Pour in soy sauce, toss to coat, and cook for 1 more minute.
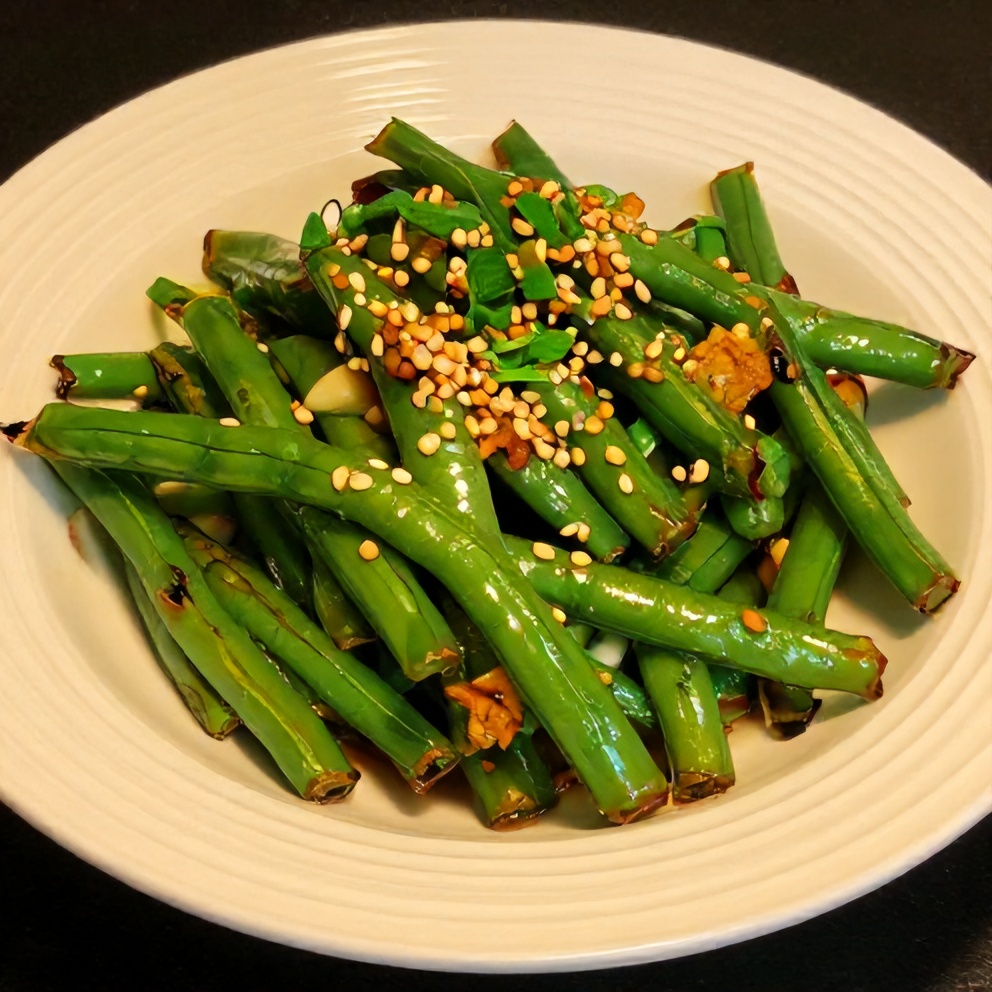
- Step 5: Season with salt and pepper, garnish with sesame seeds and chopped green onions, and serve hot.
Cook's Tips for Perfect Crispy Chinese Green Beans With Garlic Sauce
- Common mistake and fix: Overcooking can make beans soggy. To prevent this, cook them in a single layer and don't crowd the pan.
- Substitution tip: For a spicier version, add more red pepper flakes or use Sriracha instead of soy sauce.
- Make-ahead tip: You can trim and cut the green beans ahead of time. Store them in an airtight container in the fridge for up to 3 days.
Storing & Reheating Crispy Chinese Green Beans With Garlic Sauce
Short-Term Storage
Store in an airtight container in the fridge. Store leftovers in an airtight container in the fridge for up to 5 days. Make-ahead tip: You can trim and cut the green beans ahead of time.
Freezing Crispy Chinese Green Beans With Garlic Sauce
Not recommended for freezing.
How to Reheat Without Drying It Out
Oven: Reheat in the oven at 350°F (175°C) for 5-7 minutes. Microwave: Reheat in the microwave for 1-2 minutes.
Recipe Notes
- Chef tip: For a vegetarian version, use tamari instead of soy sauce.
- Best substitution: You can use snap peas instead of green beans.
- Make-ahead: See storage notes above.
- Scaling: This recipe can be easily doubled or tripled.
- Troubleshooting: If your beans are still soggy, try cooking them in a single layer and don't crowd the pan.
Want to level up this recipe?
Digital Meat Thermometer — Ensures perfect cooking temperature for crispy beans → Check price on Amazon
Crispy Chinese Green Beans With Garlic Sauce
Ingredients
Main Ingredients
- Green beans
- Garlic
- Soy sauce
- Sesame oil
- Red pepper flakes
Seasonings
- Soy sauce
- Sesame oil
- Red pepper flakes
- Salt
- Pepper
Optional Toppings
- Sesame seeds
- Chopped green onions
Instructions
- Step 1: Heat sesame oil in a large skillet or wok over medium-high heat.
- Step 2: Add green beans and cook until crispy and lightly browned, about 5-7 minutes.
- Step 3: Add minced garlic and red pepper flakes, cook for 30 seconds.
- Step 4: Pour in soy sauce, toss to coat, and cook for 1 more minute.
- Step 5: Season with salt and pepper, garnish with sesame seeds and chopped green onions, and serve hot.
Notes
- Chef tip: For a vegetarian version, use tamari instead of soy sauce.
- Best substitution: You can use snap peas instead of green beans.
- Make-ahead: See storage notes above.
- Scaling: This recipe can be easily doubled or tripled.
- Troubleshooting: If your beans are still soggy, try cooking them in a single layer and don't crowd the pan.
Storage
- Fridge: Store leftovers in an airtight container in the fridge for up to 5 days.
- Freezer: Not recommended for freezing.
- Oven reheat: Reheat in the oven at 350°F (175°C) for 5-7 minutes.
- Microwave reheat: Reheat in the microwave for 1-2 minutes.
- Make ahead: You can trim and cut the green beans ahead of time.
Nutrition Per Serving
- Calories: 100
- Protein: 3g
- Fat: 5g
- Carbs: 10g
- Fiber: 3g
- Sugar: 2g
- Sodium: 600mg
- Cholesterol: 0mg
- Sat. Fat: 0.7g
Nutritional values are estimates only. Actual values may vary by brand and portion size.
Crispy Chinese Green Beans With Garlic Sauce FAQs
You can trim and cut the green beans ahead of time. Store them in an airtight container in the fridge for up to 3 days. However, it's best to cook them just before serving for the crispest texture.
Overcooking or crowding the pan can make the beans soggy. To prevent this, cook them in a single layer and don't crowd the pan.
It's not recommended to freeze these green beans as they can become mushy when thawed.
Yes, you can make these green beans in the air fryer. Cook at 400°F (200°C) for 8-10 minutes, shaking the basket halfway through.
For a vegetarian version, use tamari instead of soy sauce. For a spicier version, use Sriracha.
A Warm Final Note
I can’t wait for you to try Crispy Chinese Green Beans With Garlic Sauce and see how effortlessly it comes together. When you make it, pop back here and leave a rating or share how it turned out — I love hearing from you!