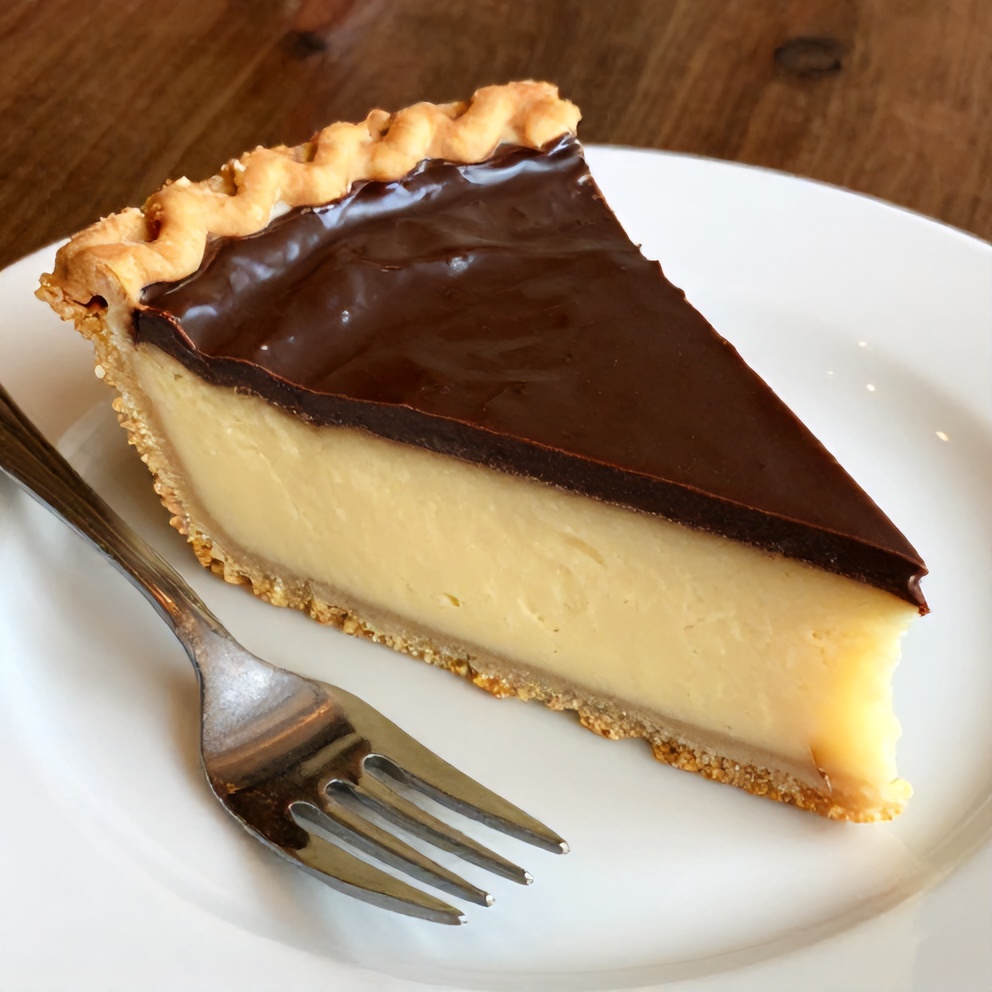
Classic Boston Cream Pie Recipe: Better Than Takeout
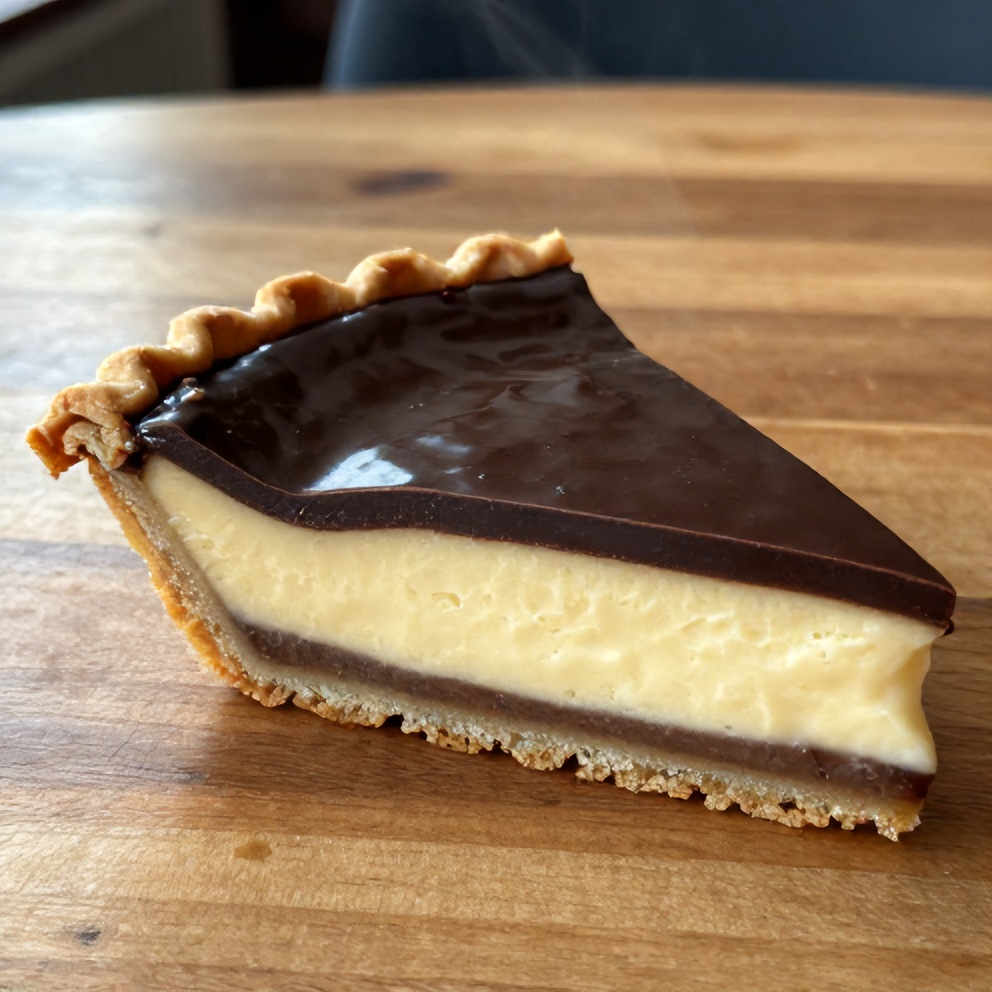
Make the best Boston Cream Pie recipe at home with this easy, step-by-step guide. With a tender vanilla cake, creamy custard filling, and rich chocolate glaze, this classic dessert is better than takeout and perfect for any occasion. After making this many times, I’ve discovered the trick to a perfectly moist cake every time. If you love recipes like this, you’ll also enjoy Creamy Sundried Tomato Lentils Recipe for Easy Dinner and Creamy Gorgonzola Truffle Mushroom Sauce for Pasta.
Why This Classic Boston Cream Pie Recipe: Better Than Takeout Is Pure Comfort
- The perfect balance of vanilla cake, creamy custard, and rich chocolate glaze.
- Easier than you think, with step-by-step instructions for success.
- A timeless classic that's always a crowd-pleaser and better than takeout.
- Make it ahead for stress-free entertaining.
What You'll Need for Classic Boston Cream Pie Recipe: Better Than Takeout
Choosing the right ingredients makes a big difference, but this recipe is forgiving enough to work with what you have.
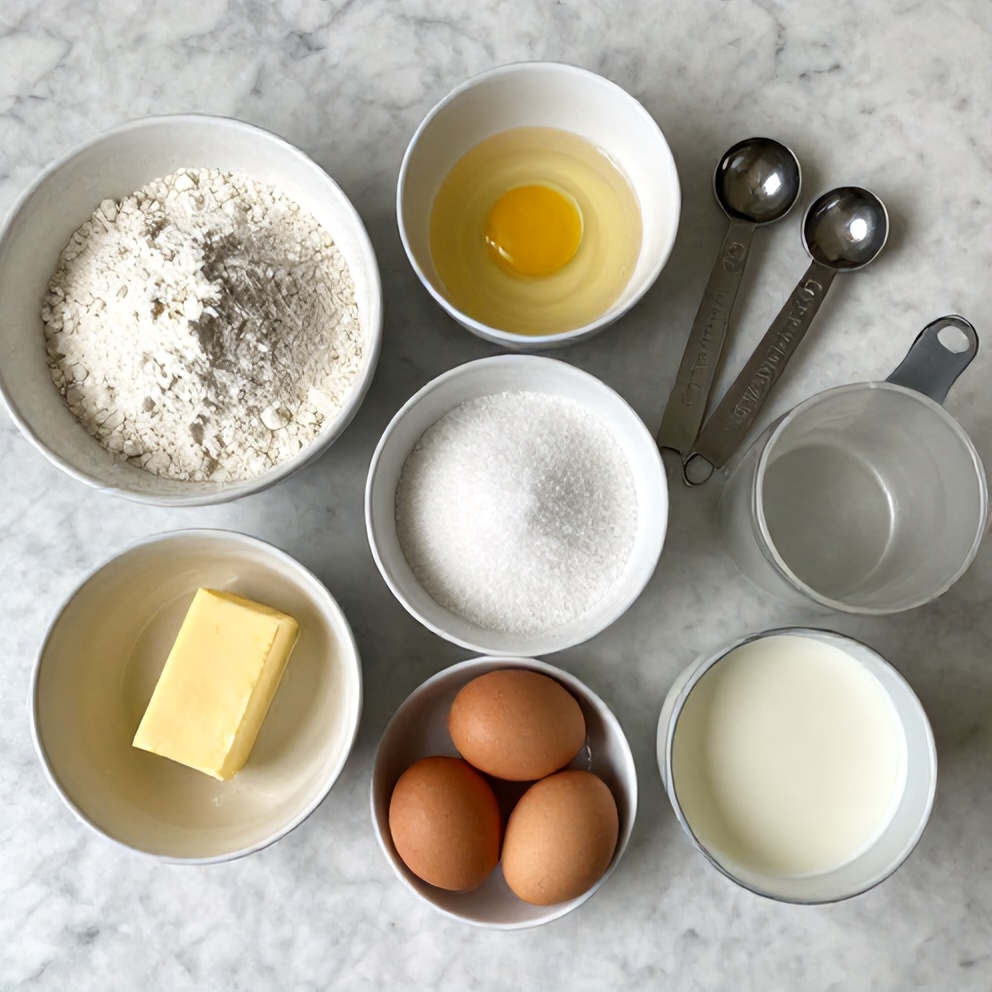
- 2 cups all-purpose flour
- 2 cups granulated sugar
- 3/4 cup unsalted butter, softened
- 4 large eggs
- 1 cup whole milk
- 1 tsp vanilla extract
- 1 tsp baking powder
- 1/2 tsp salt
- 1/2 tsp vanilla extract
- Optional: Powdered sugar, for dusting
- Optional: Chocolate shavings, for garnish
📝 Ingredient Notes
- all-purpose flour: Spoon and level for accurate measurement.
- unsalted butter: Ensure butter is softened for easy creaming.
🛒 Tools & Equipment I Recommend
- Cuisinart 9-Speed Hand Mixer — Makes quick work of creaming butter and sugar for a tender cake. → See on Amazon
- KitchenAid 4.5-Quart Tilt-Head Stand Mixer — Perfect for large batches and heavy mixing tasks. → See on Amazon
How to Make Classic Boston Cream Pie Recipe: Better Than Takeout
- Prepare the cake: Preheat oven to 350°F (175°C). Grease and flour two 9-inch round cake pans. Cream butter and sugar until light and fluffy. Beat in eggs, one at a time. Combine dry ingredients and add to butter mixture alternately with milk, beginning and ending with dry ingredients. Stir in vanilla extract. Divide batter between prepared pans and bake for 25-30 minutes or until a toothpick inserted in the center comes out clean.
- Prepare the custard: In a medium saucepan, whisk together egg yolks, sugar, and cornstarch. Gradually whisk in milk. Cook over medium heat, stirring constantly, until mixture thickens and coats the back of a spoon. Remove from heat and stir in vanilla extract. Let cool slightly.
- Assemble the pie: Once cakes have cooled, place one layer on a serving plate. Spread custard over the cake. Top with the second layer. Prepare the chocolate glaze and pour over the top, allowing it to drip down the sides. Let set before serving.
Cook's Tips for Perfect Classic Boston Cream Pie Recipe: Better Than Takeout
- Pro Tip: For a perfectly level cake, use a serrated knife to trim the domed tops of the cakes before assembling.
- Common mistake and fix: Avoid overbaking the cake, as it can become dry. If the toothpick comes out with a few moist crumbs, it's done.
- Pro Tip: Make the custard a day ahead and store in the refrigerator to save time.
- Pro Tip: For a smooth chocolate glaze, use high-quality chocolate and heat it gently with heavy cream in the microwave or over a double boiler.
Storing & Reheating Classic Boston Cream Pie Recipe: Better Than Takeout
Short-Term Storage
Store in an airtight container in the fridge. Store leftovers in the refrigerator for up to 3 days. Make-ahead tip: The cake layers can be made a day ahead and the custard can be made 2 days ahead.
Freezing Classic Boston Cream Pie Recipe: Better Than Takeout
Freeze the unglazed cake layers for up to 2 months. Thaw overnight in the refrigerator before assembling.
How to Reheat Without Drying It Out
Oven: There's no need to reheat this dessert. Microwave: Do not reheat in the microwave as it can make the cake soggy.
Recipe Notes
- Chef tip: For a lighter cake, you can substitute 1/2 cup of the all-purpose flour with 1/2 cup of cake flour.
- Best substitution: For a dairy-free version, substitute the butter with vegan butter and use almond milk instead of whole milk.
- Make-ahead: Assemble the Boston Cream Pie up to 4 hours ahead. Store in the refrigerator until ready to serve.
- Scaling: This recipe can be halved to make a smaller dessert or doubled to serve a crowd.
- Troubleshooting: If the custard becomes lumpy, strain it through a fine-mesh sieve before using.
Want to level up this recipe?
Lodge 12-Inch Cast Iron Skillet — Perfect for heating chocolate and cream for a smooth glaze. → Check price on Amazon
Classic Boston Cream Pie Recipe: Better Than Takeout
Ingredients
Main Ingredients
- 2 cups all-purpose flour
- 2 cups granulated sugar
- 3/4 cup unsalted butter, softened
- 4 large eggs
- 1 cup whole milk
- 1 tsp vanilla extract
Seasonings
- 1 tsp baking powder
- 1/2 tsp salt
- 1/2 tsp vanilla extract
Optional Toppings
- Powdered sugar, for dusting
- Chocolate shavings, for garnish
Instructions
- Prepare the cake: Preheat oven to 350°F (175°C). Grease and flour two 9-inch round cake pans. Cream butter and sugar until light and fluffy. Beat in eggs, one at a time. Combine dry ingredients and add to butter mixture alternately with milk, beginning and ending with dry ingredients. Stir in vanilla extract. Divide batter between prepared pans and bake for 25-30 minutes or until a toothpick inserted in the center comes out clean.
- Prepare the custard: In a medium saucepan, whisk together egg yolks, sugar, and cornstarch. Gradually whisk in milk. Cook over medium heat, stirring constantly, until mixture thickens and coats the back of a spoon. Remove from heat and stir in vanilla extract. Let cool slightly.
- Assemble the pie: Once cakes have cooled, place one layer on a serving plate. Spread custard over the cake. Top with the second layer. Prepare the chocolate glaze and pour over the top, allowing it to drip down the sides. Let set before serving.
Notes
- Chef tip: For a lighter cake, you can substitute 1/2 cup of the all-purpose flour with 1/2 cup of cake flour.
- Best substitution: For a dairy-free version, substitute the butter with vegan butter and use almond milk instead of whole milk.
- Make-ahead: Assemble the Boston Cream Pie up to 4 hours ahead. Store in the refrigerator until ready to serve.
- Scaling: This recipe can be halved to make a smaller dessert or doubled to serve a crowd.
- Troubleshooting: If the custard becomes lumpy, strain it through a fine-mesh sieve before using.
Storage
- Fridge: Store leftovers in the refrigerator for up to 3 days.
- Freezer: Freeze the unglazed cake layers for up to 2 months. Thaw overnight in the refrigerator before assembling.
- Oven reheat: There's no need to reheat this dessert.
- Microwave reheat: Do not reheat in the microwave as it can make the cake soggy.
- Make ahead: The cake layers can be made a day ahead and the custard can be made 2 days ahead.
Nutrition Per Serving
- Calories: 410
- Protein: 6g
- Fat: 18g
- Carbs: 57g
- Fiber: 1g
- Sugar: 35g
- Sodium: 160mg
- Cholesterol: 125mg
- Sat. Fat: 11g
Nutritional values are estimates only. Actual values may vary by brand and portion size.
Classic Boston Cream Pie Recipe: Better Than Takeout FAQs
Yes, you can make the cake layers and custard ahead. Assemble the pie up to 4 hours before serving.
Overbaking is the most common reason for a dry cake. Be sure to check the cake with a toothpick at the minimum baking time.
Yes, you can freeze the unglazed cake layers for up to 2 months. Do not freeze the assembled pie with the glaze.
No, the air fryer is not suitable for baking cakes. Stick to the oven for this recipe.
A stabilized whipped cream or a no-bake cheesecake filling can be used as a substitute for the custard.
A Warm Final Note
I can’t wait for you to try Classic Boston Cream Pie Recipe: Better Than Takeout and see how effortlessly it comes together. When you make it, pop back here and leave a rating or share how it turned out — I love hearing from you!