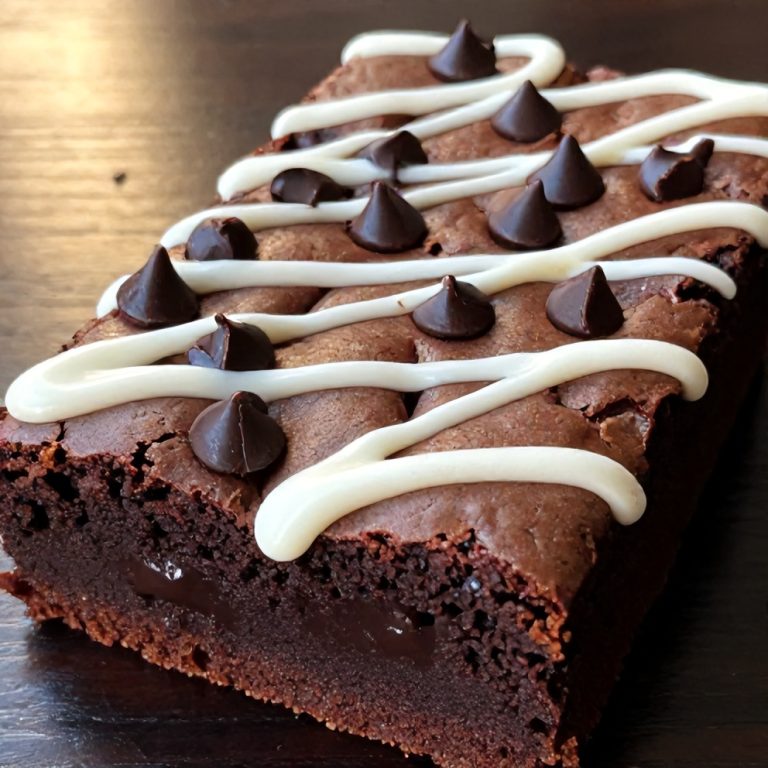
Easy Red Velvet Brownies for Cozy Winter Nights
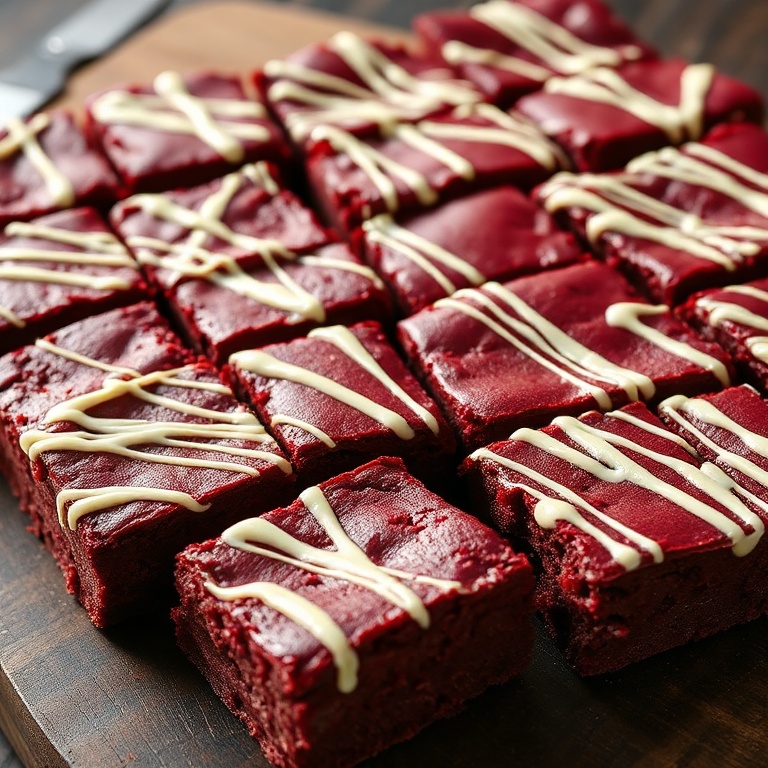
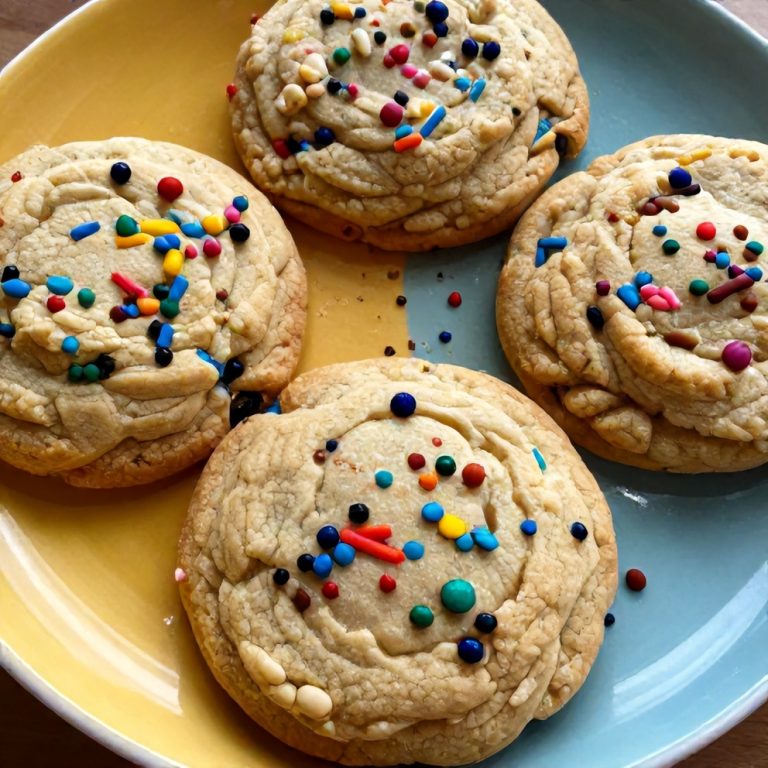
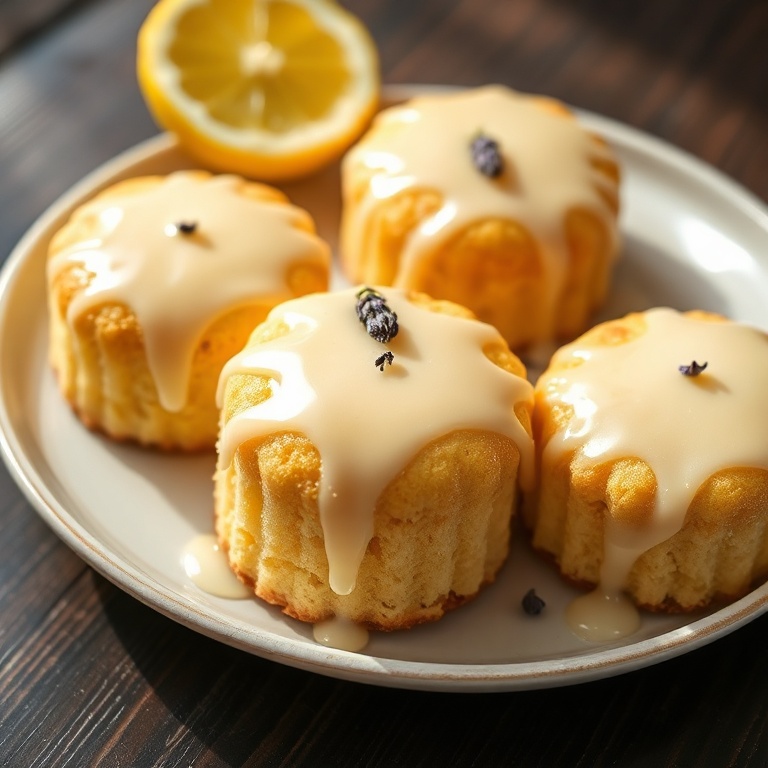
Easy red velvet brownies always turn out fudgy and vibrant, no matter your baking level. Boxed mixes just can’t deliver true homemade richness or that signature tangy cocoa flavor. After making this recipe over a dozen times, I’ve learned you must get the mixing and baking times spot on. Expect a dense, chewy center with creamy white chocolate ripples and that classic, cozy winter red hue. If you love desserts like my Easy Lemon Curd Cookies, this will be your next go-to treat. Jump to the recipe card or keep reading for my best tips. If you love recipes like this, you’ll also enjoy Easy Lemon Curd Cookies and Raspberry Cinnamon Rolls with Tangy Lemon Glaze.
Why This Easy Red Velvet Brownies for Cozy Winter Nights Is Pure Comfort
- Big cocoa flavor with a real homemade brownie chew.
- No cake mix needed—pure, classic red velvet taste.
- Easy white chocolate drizzle for a creamy finish.
- Perfect for cozy winter nights or holiday gifting.
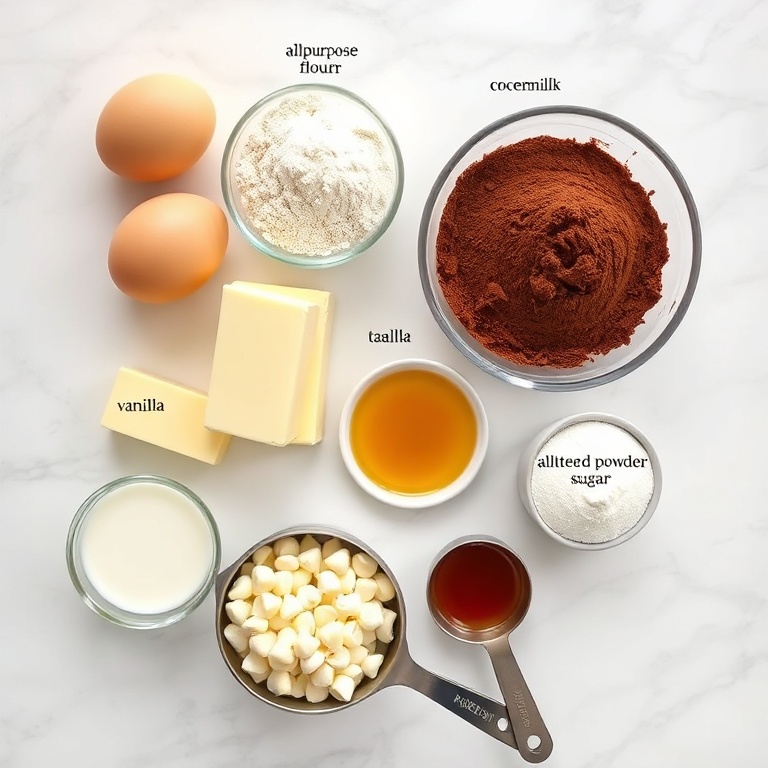
What You'll Need for Easy Red Velvet Brownies for Cozy Winter Nights
Choosing the right ingredients makes a big difference, but this recipe is forgiving enough to work with what you have.
- 1 cup all-purpose flour
- 1 cup granulated sugar
- 2 large eggs, room temperature
- 1/2 cup unsalted butter, melted
- 1/4 cup cocoa powder (unsweetened)
- 2 tablespoons buttermilk
- 2 teaspoons vanilla extract
- 1 tablespoon red food coloring
- 1/2 teaspoon baking powder
- 1/4 teaspoon salt
- 2/3 cup white chocolate chips (for drizzle)
- 1/2 teaspoon white vinegar
- 2 teaspoons vanilla extract
- Optional: Extra melted white chocolate
- Optional: Crushed freeze-dried raspberries
📝 Ingredient Notes
- Buttermilk: Lends classic tang; don’t use plain milk.
- Red food coloring: Gel coloring gives boldest color; liquid can work in a pinch.
- White chocolate chips: Real white chocolate melts smoother than baking chips.
- Butter: Use unsalted for better flavor balance. Melt fully, but do not brown.
- Cocoa powder: Dutch process or natural both work; sift to prevent lumps.
🛒 Tools & Equipment I Recommend
- 8×8 Nonstick Baking Pan — Prevents sticking, ensuring even texture and clean brownie edges every time. → See on Amazon
- Metal Offset Spatula — Makes spreading thick brownie batter easy and keeps the top smooth for even baking. → See on Amazon
How to Make Easy Red Velvet Brownies for Cozy Winter Nights
- Prep oven and pan: Preheat oven to 350°F. Line an 8×8-inch pan with parchment and lightly grease.
- Mix wet ingredients: Whisk together melted butter, sugar, eggs, buttermilk, vanilla, vinegar, and red food coloring until fully combined and glossy.
- Add dry ingredients: Sift in flour, cocoa powder, baking powder, and salt. Fold gently until just combined. Do not overmix to avoid dense brownies.
- Bake: Spread batter evenly in prepared pan. Bake 25–28 minutes or until the center is just set. Edges should look firm.
- Cool completely: Let brownies cool in the pan on a rack for at least 45 minutes before removing for clean slices.
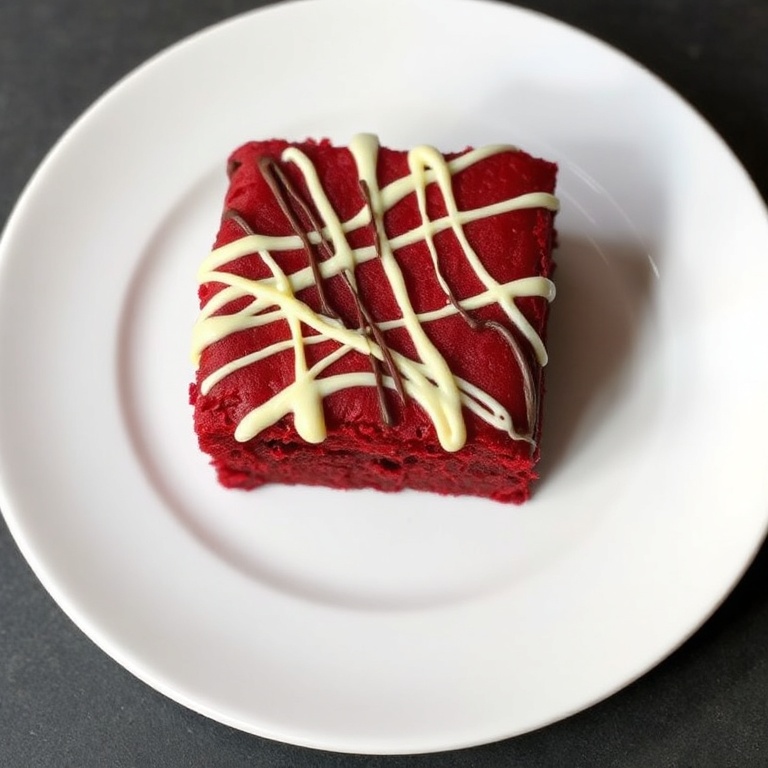
- Drizzle with white chocolate: Melt white chocolate chips until smooth, then drizzle generously over cooled brownies. Let set before slicing.
Cook's Tips for Perfect Easy Red Velvet Brownies for Cozy Winter Nights
- Expert tip: For extra fudgy brownies, pull them from the oven when the middle still looks slightly underdone. They finish setting as they cool.
- Common mistake and fix: Overmixing the batter makes brownies tough. Stop folding as soon as dry streaks disappear for a chewy result.
- Slicing: Wipe your knife with a damp cloth between cuts to keep edges clean and prevent crumbs from dragging through the white chocolate.
- White chocolate drizzle: If white chocolate seizes, stir in a scant teaspoon of canola oil for a glossy, pourable finish.
Storing & Reheating Easy Red Velvet Brownies for Cozy Winter Nights
Short-Term Storage
Store in an airtight container in the fridge. Store tightly wrapped brownies up to 5 days for best freshness. The fridge helps preserve the fudgy texture and white chocolate. Make-ahead tip: Bake brownies and drizzle up to one day ahead. Slice right before serving for the best appearance.
Freezing Easy Red Velvet Brownies for Cozy Winter Nights
Wrap individual squares in plastic, then foil. Freeze up to 3 months. Thaw at room temperature for best texture.
How to Reheat Without Drying It Out
Oven: Warm at 300°F for 8–10 minutes to restore freshness. Do not overheat or brownies may dry out. Microwave: Microwave single brownie (unwrapped) for 10–15 seconds for a melty treat, but do not overdo or it will get spongy.
Recipe Notes
- Chef tip: Using barely warm butter speeds up mixing and helps dissolve sugar fully for shiny top crust.
- Best substitution: Swap buttermilk for whole milk plus a half teaspoon of lemon juice in a pinch. Let sit 5 minutes before using.
- Make-ahead: Fully baked, undrizzled brownies can be wrapped airtight and stored at room temperature up to 36 hours. Drizzle just before serving.
- Scaling: Double the recipe for a 9×13 pan. Bake 32–35 minutes, checking for doneness at 30 minutes.
- Troubleshooting: Brownies turn dry if overbaked or if batter is overmixed. Always check with a toothpick—moist crumbs are perfect; dry crumb means it’s overdone.
Want to level up this recipe?
Digital Oven Thermometer — Gives accurate oven temps to prevent underbaking or dry, overcooked brownies—crucial for this fudgy recipe. → Check price on Amazon
Easy Red Velvet Brownies for Cozy Winter Nights
Ingredients
Main Ingredients
- 1 cup all-purpose flour
- 1 cup granulated sugar
- 2 large eggs, room temperature
- 1/2 cup unsalted butter, melted
- 1/4 cup cocoa powder (unsweetened)
- 2 tablespoons buttermilk
- 2 teaspoons vanilla extract
- 1 tablespoon red food coloring
- 1/2 teaspoon baking powder
- 1/4 teaspoon salt
- 2/3 cup white chocolate chips (for drizzle)
Seasonings
- 1/2 teaspoon white vinegar
- 2 teaspoons vanilla extract
Optional Toppings
- Extra melted white chocolate
- Crushed freeze-dried raspberries
Instructions
- Prep oven and pan: Preheat oven to 350°F. Line an 8×8-inch pan with parchment and lightly grease.
- Mix wet ingredients: Whisk together melted butter, sugar, eggs, buttermilk, vanilla, vinegar, and red food coloring until fully combined and glossy.
- Add dry ingredients: Sift in flour, cocoa powder, baking powder, and salt. Fold gently until just combined. Do not overmix to avoid dense brownies.
- Bake: Spread batter evenly in prepared pan. Bake 25–28 minutes or until the center is just set. Edges should look firm.
- Cool completely: Let brownies cool in the pan on a rack for at least 45 minutes before removing for clean slices.
- Drizzle with white chocolate: Melt white chocolate chips until smooth, then drizzle generously over cooled brownies. Let set before slicing.
Notes
- Chef tip: Using barely warm butter speeds up mixing and helps dissolve sugar fully for shiny top crust.
- Best substitution: Swap buttermilk for whole milk plus a half teaspoon of lemon juice in a pinch. Let sit 5 minutes before using.
- Make-ahead: Fully baked, undrizzled brownies can be wrapped airtight and stored at room temperature up to 36 hours. Drizzle just before serving.
- Scaling: Double the recipe for a 9×13 pan. Bake 32–35 minutes, checking for doneness at 30 minutes.
- Troubleshooting: Brownies turn dry if overbaked or if batter is overmixed. Always check with a toothpick—moist crumbs are perfect; dry crumb means it’s overdone.
Storage
- Fridge: Store tightly wrapped brownies up to 5 days for best freshness. The fridge helps preserve the fudgy texture and white chocolate.
- Freezer: Wrap individual squares in plastic, then foil. Freeze up to 3 months. Thaw at room temperature for best texture.
- Oven reheat: Warm at 300°F for 8–10 minutes to restore freshness. Do not overheat or brownies may dry out.
- Microwave reheat: Microwave single brownie (unwrapped) for 10–15 seconds for a melty treat, but do not overdo or it will get spongy.
- Make ahead: Bake brownies and drizzle up to one day ahead. Slice right before serving for the best appearance.
Nutrition Per Serving
- Calories: 210
- Protein: 2g
- Fat: 10g
- Carbs: 29g
- Fiber: 1g
- Sugar: 18g
- Sodium: 88mg
- Cholesterol: 36mg
- Sat. Fat: 6g
Nutritional values are estimates only. Actual values may vary by brand and portion size.
Easy Red Velvet Brownies for Cozy Winter Nights FAQs
Yes, you can make easy red velvet brownies a day ahead. Bake and cool them fully, then add the white chocolate drizzle before serving. Brownies keep their fudginess overnight if wrapped tightly. They make a cozy dessert for any winter gathering. Slice just before putting out for best appearance.
The #1 reason is overbaking—edges bake faster, so check five minutes before the timer goes off. Overmixing also beats in air and toughens your brownies. For tender, chewy bars, fold just until combined and bake until a toothpick comes out with moist crumbs. Remove immediately and cool in the pan. This preserves their signature fudgy center.
Yes, brownies with drizzle freeze well for up to three months. Chill them until firm, then cut and wrap individual squares tightly. Thaw at room temperature for the best taste and texture. If possible, drizzle after thawing for the glossiest finish. This keeps them fresh and prevents condensation ruining the white chocolate.
Mix whole milk with half a teaspoon of lemon juice or vinegar, then let it sit for 5 minutes. This gives the same tang and rise as buttermilk. Plain milk will make the brownies less rich and a bit flatter. I recommend the homemade buttermilk trick for classic results. Don’t skip an acid, as it also helps the red color pop.
Cool brownies completely before attempting to slice. Use a hot, smooth knife and wipe it clean between each cut. Drizzle the white chocolate in one direction, let it set, then slice. Cutting while the drizzle is still wet will smear and look messy. If you want bakery-style bars, patience is key.
A Warm Final Note
I can’t wait for you to try Easy Red Velvet Brownies for Cozy Winter Nights and see how effortlessly it comes together. When you make it, pop back here and leave a rating or share how it turned out — I love hearing from you!